Mastering the technique of ironing a peak lapel suit helps you establish a unique and distinguished style, whether in a business setting or at social events. Knowing how to iron your suit properly can make a significant difference, highlighting your attention to detail and commitment to maintaining a professional appearance.
However, maintaining your suits, especially peak lapel suits, shouldn’t be limited to professional tailoring services. There are techniques to help you achieve a sharp look with peak lapel suit ironing at home as well. It’s all about respecting the unique construction of the suit, particularly the lapel’s natural roll. Remember, good ironing does not mean flattening these essential elements of your suit but preserving their shape and structure.
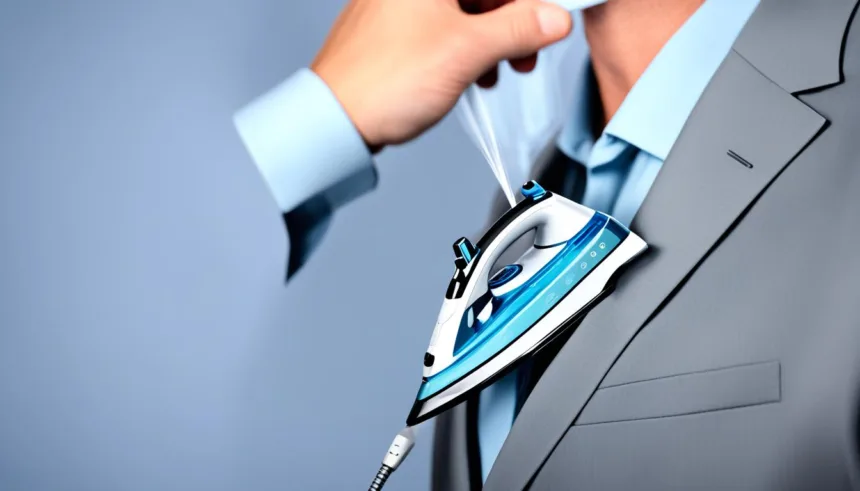
Opt for a quality steam iron to ensure a smooth, wrinkle-free finish. For instance, the Rowenta Steamforce DW9280 is a preferred choice among connoisseurs. Proper application of steam, gentle pressure, and a keen eye for detail can help you achieve the best results, improving suit care through proper ironing techniques.
Understanding Your Suit’s Fabric and Care Requirements

The first step in ensuring safe ironing practices for peak lapel suits is understanding the type of fabric from which your suit is made. Fabrics such as wool, linen, cotton, polyester, or a blend each have unique care requirements that must be taken into account while ironing.
To avoid ironing damage on peak lapel suits, it’s essential to realize that each fabric has different heat sensitivity. Because of this, they must be ironed at the correct temperature. For instance, wool suits usually require steaming due to their robust and dense nature. On the other hand, cotton and linen suits, because of their less resilient properties, demand careful ironing.
Heat sensitivity becomes a delicate issue when dealing with suits made from polyester or other synthetic materials. These suits are particularly vulnerable to high temperatures and must be ironed at low settings to prevent any potential damage. When dealing with such materials, it is advisable to use a damp pressing cloth which provides a protective barrier between the fabric and the iron.
Understanding the different fabrics of peak lapel suits further emphasizes the importance of steaming as a safer alternative to ironing. This technique comes highly recommended, particularly for its ability to avoid setting hidden stains and to ensure both the longevity and pristine appearance of the suit.
| Fabric Type | Ironing Method | Temperature Setting |
|---|---|---|
| Wool | Steaming | High |
| Linen | Ironing | High |
| Cotton | Ironing | Medium |
| Polyester / Synthetic Blend | Use of Damp Pressing Cloth | Low |
Remember, the key to preserving your suit’s lifespan and sharp appearance lies in understanding how to safely iron its specific fabric type. Invest in your suit’s longevity by practicing the correct ironing techniques for each specific fabric.
The Importance of a Quality Iron in Achieving a Sharp Look
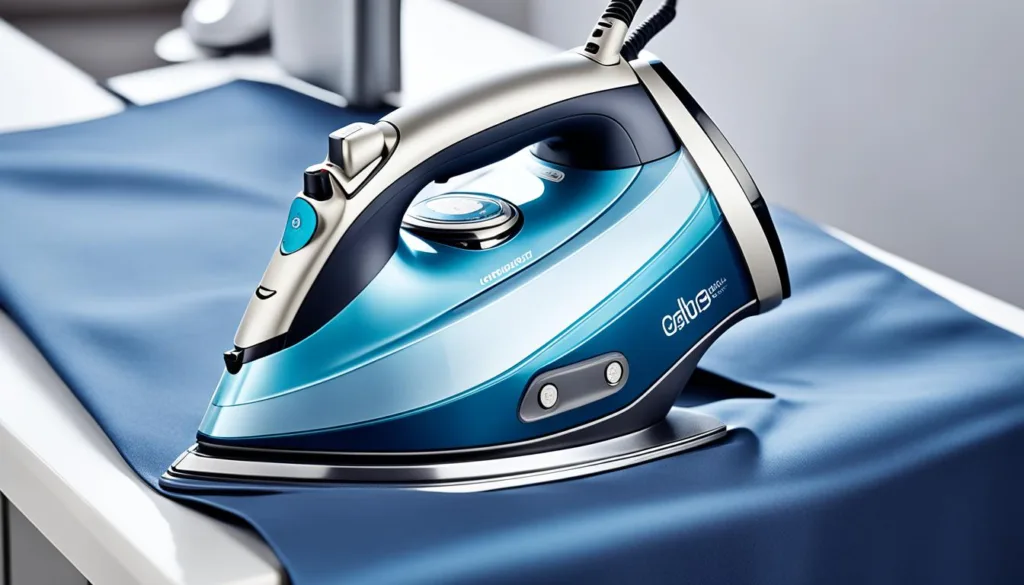
When it comes to mastering peak lapel suit ironing techniques, the most important tool at your disposal is, quite obviously, the iron itself. Owning a high-quality iron that you can rely on is the first step towards ensuring that your suit looks its absolute best. However, it’s not just about having the right equipment – it’s also about knowing how to use it.
Choosing the Right Temperature for Different Fabrics
Different fabrics require different temperatures for ironing. For instance, more delicate materials such as silk or polyester require a lower heat setting, while more resilient fabrics like cotton and wool can handle a higher temperature. It’s crucial to adjust your iron settings for peak lapel suits accordingly to ensure you don’t damage or discolor the fabric.
Using a Steam Iron for Superior Results
Steam irons have become the go-to choice for many when it comes to ironing their suits. The steam not only helps to smooth out wrinkles with ease, but it also won’t flatten the fabric in the same way a regular iron might. A steam iron, like the Rowenta Steamforce DW9280, boasts a built-in steam generator, making it particularly effective for peak lapel suit ironing techniques.
Advanced Features of Modern Irons
Today, advanced ironing tools have made achieving a sharp, crisp look easier than ever. For example, a tailor’s ham helps you iron more complex areas of the suit, such as the shoulders and lapels, without leaving unsightly creases. Meanwhile, a clapper can be used after the iron to set seams and edges, helping you achieve a finish that’s as close to professional as possible.
Peak Lapel Suit Ironing Techniques for a Professional Finish

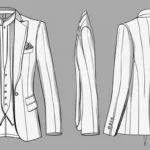
Ironing suits can often be viewed as a daunting task. However, by using a step-by-step guide, you can easily achieve a professional finish. In particular, it is important to focus on ironing the crucial elements of a peak lapel suit. This includes the lapel and collar sections which require precision handling to maintain the suit’s structural integrity and sophisticated look.
Taking time to understand your suit’s fabric and being mindful of the underlying fabric care requirements is an essential first step. Preparation is key.
Once you’re ready to start ironing, begin with the lapel. It’s vital to iron the lapel in its natural, unfolded state. This ensures the natural roll of the lapel isn’t lost and helps preserve your suit’s original design. Keep the iron moving with light pressure around visible seams and pocket flaps, so as not to drag the fabric and to maintain the fabric’s sharp look.
Following the lapel, your collar is next in line. Importantly, unlike the lapel, it should be ironed while folded to maintain a distinct notch where it separates from the lapel.
The objective is a smooth, refined finish where every element comes together seamlessly. Focus on the sleeves and back panels last, repeating the same techniques used for the lapel and collar. Remember, ironing is a delicate process, be conscious of applying too much pressure, particularly on seams that can easily get a shiny appearance due to high heat.
The cornerstone of ideal ironing practices is patience and precision. Utilizing this step-by-step guide to ironing peak lapel suits, you’ll yield results that bespeak the air of a professional touch.
Safeguarding Your Suit: Protective Measures During Ironing
Your peak lapel suit deserves the utmost care during ironing. It’s about more than achieving a sharp look—it’s also about preserving the quality of the fabric and preventing damage. Focused measures such as using protective agents, selecting the correct settings on your iron, and choosing between steam and dry ironing methods can make all the difference in maintaining your suit’s longevity.
Avoiding Shine and Scorching with Pressing Cloths
One of the common pitfalls of ironing that can damage your peak lapel suit is exposing it to direct heat. This can lead to an unwanted shine or scorching, especially along the seams and other sensitive areas. To prevent this, always use a damp pressing cloth between the iron and your suit. This barrier ensures that the heat and steam evenly disperse across the fabric, protecting it from direct contact with the hot surface of the iron.
Iron Settings to Prevent Damage
Choosing the correct settings for your iron is crucial in safeguarding your suit. Synthetic materials, for instance, are heat-sensitive and require a lower temperature setting. Always refer to the care label of your peak lapel suit for guidance on the recommended ironing temperature. If uncertain, it’s wise to start with a lower setting—you can gradually increase it if needed until you achieve the optimal balance of heat and fabric protection.
Steam Versus Dry Ironing Methods
When it comes to ironing your peak lapel suit, you have two main options: using a steam or dry method. Steam ironing is often preferred for its gentle effectiveness. It effortlessly removes wrinkles and leaves behind a favorable crisp and smooth texture. On the other hand, dry ironing can pose a higher risk of heat damage, particularly for delicate fabrics. In such cases, using a steamer can be a safer alternative. It offers a touch-free method to eliminate wrinkles, further reducing any risk of scorching or damaging your suit during the ironing process.
Ironing the Crucial Elements: Lapel and Collar Precision
In the pursuit of perfection in your peak lapel suit ironing techniques, one must not overlook two pivotal features: the lapel and the collar. These are the details that adorn your suit and elevate your appearance, when taken care of meticulously. Certainly, the lapel and collar require a more skillful approach to ironing to maintain their distinctive sharpness.
Addressing the lapel first, it is vital to fully unfold the lapel, allowing access to its underside. Contrary to what one might think, this does not mean flattening the lapel roll. That natural roll is a crucial characteristic of a peak lapel suit, and ironing it flat would jeopardize the suit’s distinctive style.
Lapel roll ironing involves gently applying the iron, moving it along the fabric without exerting excessive pressure that could lead to a flattened appearance. A crucial tip to remember here is the usefulness of steam. After you’ve ironed the lapel, applying a burst of steam to the edges aids in preserving the fold.
Moving on to collar care, it demands an equally delicate approach. The collar should be pressed along its fold, closely respecting its natural contour and sharp lines that are defining of the suit’s silhouette. Going against this natural fold could result in a distorted collar and a diminished appearance of your peak lapel suit.
To encapsulate, mastering peak lapel suit ironing techniques is as much about technique as it is about precision. Especially when dealing with crucial elements like the lapel and collar, carefulness and accuracy will ensure the lasting sharpness of your suit.
Ironing a Sharp Suit Sleeve: Tools and Techniques
Whether you’re preparing for a business meeting or attending a formal event, the sleeves of your suit play a crucial role in portraying a polished image. Ironing a sharp suit sleeve is an art that calls for both advanced ironing tools and proficient sleeve ironing techniques. It entails precision and control to minimise unwanted creases while enhancing the natural drape of the fabric.
One key tool in this endeavor is the sleeve board. Here, your sleeve can find a perfect fit, letting you iron with utmost control. By encasing the sleeve board, you ensure no pleat is inadvertently pressed onto the edge, maintaining the sleeve’s pristinely smooth surface.
Another crucial aspect of ironing a suit sleeve is the enhancement of cuffs. Elucidating a suit’s sharpness, cuffs require meticulous ironing. It demands a careful approach, insisting on light strokes of the iron along the edges while preventing any direct impact on the fabric.
As one moves past the straight edges of the sleeve, the tools employed take on a distinct shape. Tailor’s ham, an advanced ironing tool, comes into the picture for ironing over rounded seams. The curves of this unique tool emulate the natural contours of the body, fostering a precisely ironed finish that respects the suit’s organic curves rather than flattening them.
Here is a concise process for ironing a sharp suit sleeve:
- Place the ironed suit sleeve over the sleeve board.
- Apply light strokes of the iron, concentrating on the flat surfaces.
- For rounded seams, use the tailor’s ham for better access and control.
- Pay extra attention to cuffs, using minimal pressure to define the edges.
- Repeat the process for the other sleeve, ensuring consistent sharpness.
The pursuit of a perfectly ironed sharp suit sleeve is achievable with the right tools and techniques. Embracing these strategies not only accentuates the overall crispness of your suit but also communicates unspoken elements of your personal and professional brand.
Tackling Trousers: Complementary Techniques for Suit Pants
The second part of mastering techniques for wrinkle-free peak lapel suits is ensuring your suit pants are equally pristine. Ironing suit pants might seem a straightforward process. However, the attention to detail in keeping the integrity of the pleats intact plays a crucial role in the overall appearance.
Finding the Right Crease
Laying the pants flat on the ironing board, locate the already established creases. Ensure your iron follows this crease line precisely to maintain the pants’ original shape. Contrary to common belief, do not iron both legs simultaneously as this could lead to misaligned pleats. Instead, approach each leg individually for precise ironing.
Dealing with Delicate Fabrics and Pleats
Special consideration must be given to delicate fabrics. Use a pressing cloth where possible to avoid scorching and causing a shine on the fabric. Remember, the iron setting should be appropriate for the fabric. A wrong temperature setting may ruin your pants’ look by melting synthetic fibers or causing other heat-related damages.
The Role of a Tailor’s Ham in Perfect Pants Ironing
A tailor’s ham is a valuable tool when dealing with curves and seams. It enhances the finish of your pants by allowing precise ironing along these areas. Always iron the inside of the pants first to avoid visible seams on the outside.
| Suit Pants Ironing Steps | Description | Tips |
|---|---|---|
| Find the Crease | Identify the pants’ existing crease. Iron each leg separately to maintain the crease. | Avoid ironing both legs simultaneously. |
| Iron Inside | Iron the inside of the pants first. This prevents noticeable seams or creases from appearing on the outside. | This step is more important when the fabric is prone to shiny appearances. |
| Use a Tailor’s Ham | A tailor’s ham helps get into hard-to-reach areas like curves and seams, ensuring crease-free pants. | Round seam areas like waistbands and pockets can benefit massively from this tool. |
| Iron Delicate Fabrics | Use a pressing cloth to protect delicate fabrics. The iron’s temperature should be set according to the fabric type. | Steam or press lightly to prevent damaging delicate fabrics. |
Conclusion
In essence, the mastery involved in achieving a sharp look with peak lapel suit ironing is reliant on more than just a rudimentary understanding of how to operate an iron. It involves a comprehensive understanding of fabric care, a keen attention to detail, and the appropriate tools that complement your ironing process.
The implementation of these guidelines can greatly aid you in achieving a wrinkle-free and sharply ironed suit, thereby eliminating the need for constant professional services. Remember, the right heat setting on a reliable iron, the advantageous use of a tailor’s ham or a steam iron, and a careful, systematic process are the cornerstones of successful, masterful ironing techniques for peak lapel suits.
Beyond just achieving an aesthetically pleasing result, these techniques also focus on preserving the fabric, longevity, and quality of your suit. Regular practice can enhance your confidence in maintaining your wardrobe, especially when you need to iron a peak lapel suit for an impactful display at a significant business meeting or social event.
FAQ
What is the first step to ironing a peak lapel suit?
The first step to ironing a peak lapel suit is identifying the fabric—wool, linen, cotton, polyester, or a blend. This determines the ironing method you’ll need to use.
How do I determine the right iron temperature for different fabrics?
Suit fabric determines the iron’s temperature. Low heat is recommended for delicate materials and moderate heat for more resilient fabrics. Synthetic materials require the lowest temperatures.
What are some precautions one can take while ironing a peak lapel suit?
Use a damp pressing cloth over sensitive areas like seams, to avoid shine and scorching. Correct iron settings are crucial, with lower temperatures advised for synthetic materials. Utilize steam as it’s gentler and more effective over dry ironing techniques.
How should the suit’s collar be ironed?
The collar should be pressed along its fold, respecting the natural contour and sharp lines that define the suit’s silhouette.
How should suit sleeves be ironed for a sharp look?
Using tools like a sleeve board allows full control over the ironing process, ensuring no unwanted crease or pleat is pressed in. Sharp edges on cuffs are achieved through careful ironing.
What is the recommended method for ironing suit pants?
Iron pants laid flat on the ironing board, attending to pockets and cuffs precisely. Avoid ironing both trouser legs simultaneously to prevent misaligned pleats. Use a tailor’s ham for precise ironing along curves and seams.
What models of steam iron are recommended for peak lapel suit ironing?
A high-quality steam iron like the Rowenta Steamforce DW9280 is ideal for achieving a crisply ironed peak lapel suit. It facilitates the removal of wrinkles with minimal contact and has an efficient built-in steam generator.


